Second Year
Final week
I am going to say this was the last week, I probably had more than 16 good weeks in but this is two months after I left Napa for the summer and it is easier to lump everything in one page so I will try and include all that has not been previously mentioned.
The biggie is the fuel tank. There have been bits about it throughout this year, It is in place but not fastened down or plumbed. The tanks were the biggest deal for me this year. I wanted to have them done by the end of November leaving me free to roll on the rest of the boat. I used up lots of brain power figuring out how to plumb them and general installation. I think if I had been able to get them done in November I could have gotten the boat as far north as WA this year. It was not to be the tanks didn't get in the boat until April.
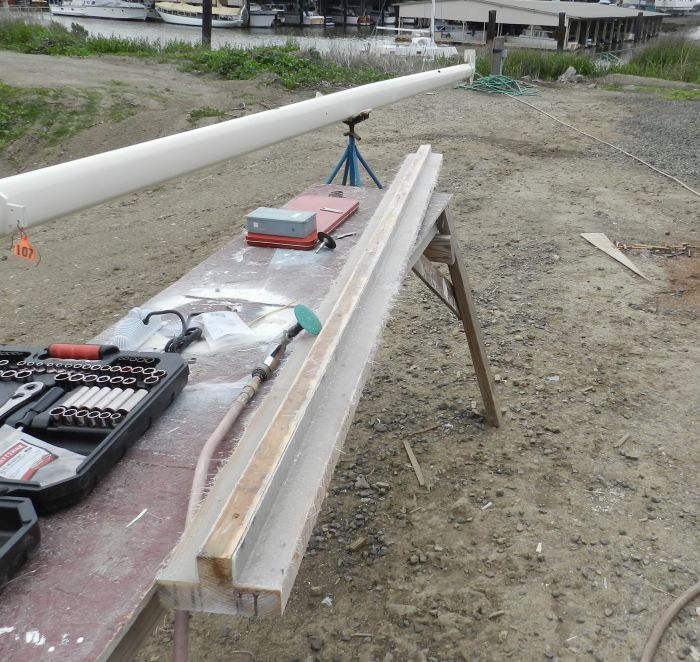
The next big thing on the tank was to get the lid on, I test fit it, adjusted tank top edge so it was level all around and would fit in the tank hold. I then made a mould by screwing a 2x2 onto a 2x6, waxing and spraying mould release and laying up matt roving matt roving matt.
Mold for Fibreglass Angles
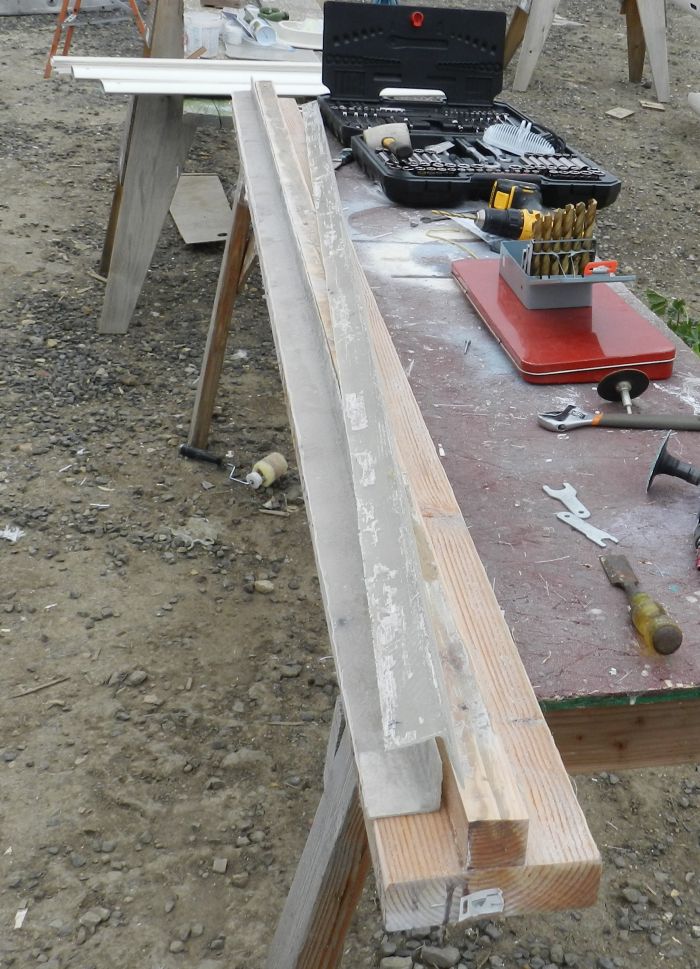
Here are the angles moulded up
The Fibreglass Angles
I then epoxied the angles on the tank
Lid Angles on Tank
I then put on a special gelcoat for fuel tanks that I got when I bought the Iso Resin and matt at Fiberlay on my way south.
Tank with Gelcoat
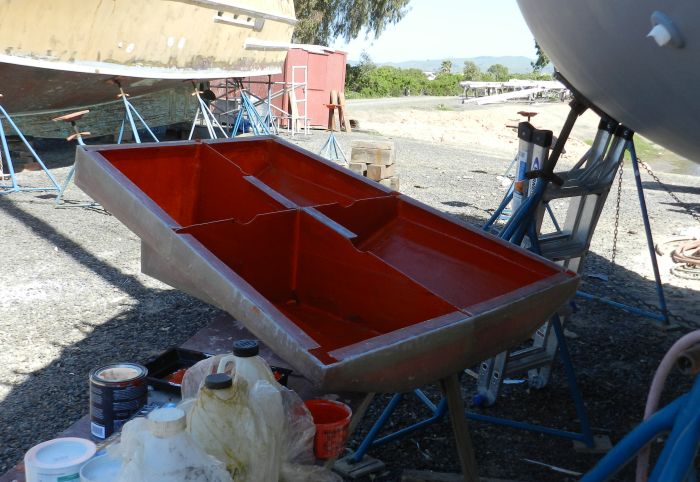
I taped the lid where it would hit the angles to insure a good bond.
Tank lid With Gel Coat

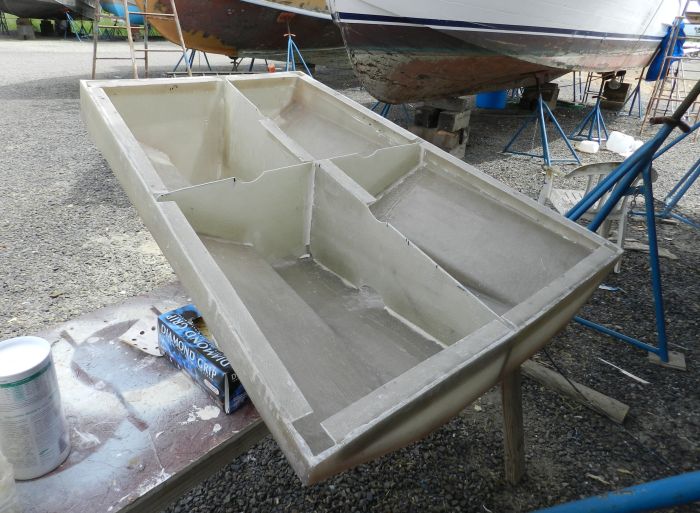
I had bonded the angles to the tank with epoxy and the tank lid was put down onto an epoxy paste. I also fibreglassed the outside joint with epoxy and cloth.
Tank Lid On
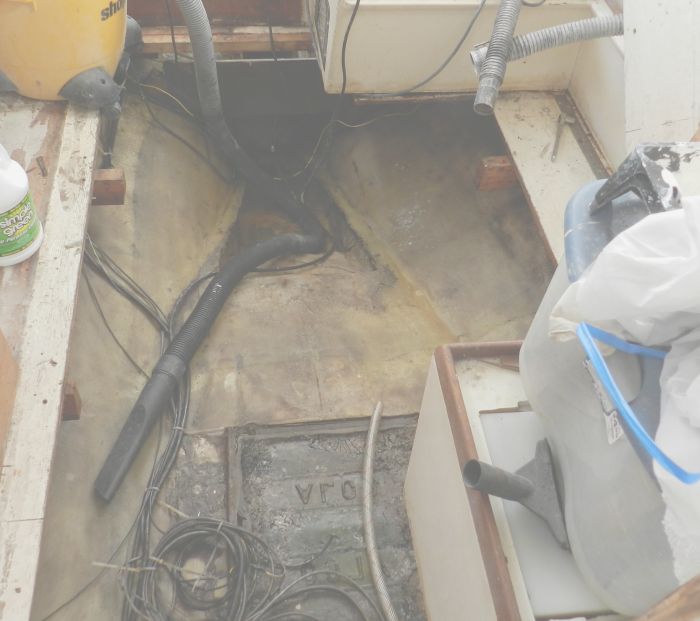
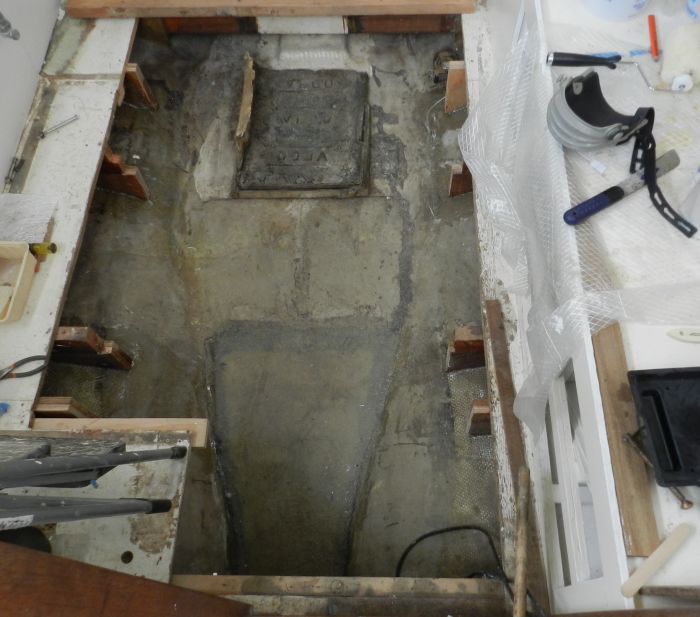
Here is a pic of under the floor in the dinette settee area where the old water tank used to be that I used to make a mould for the fuel tank. I don't know why the hole was cut at the front. Note the 2x4's unsupported on either side. The floor supports were bolted to these.
Tank Hold Before Modifications
I filled in the hole with foam, used a board on top to keep a smooth surface. I then fibreglassed over the foam.
Underfloor Tank space
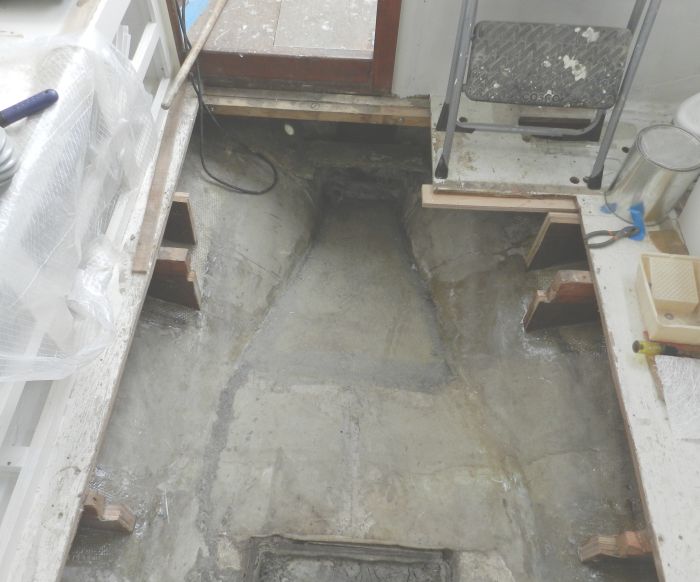
Here is the opposite view of the tank area. Note the additional cross floor supports and that all of them are braced to the bottom and tabbed in with fibreglass. I am using 2x2 aluminium angle as the under floor cross pieces now. No pics of course.
Tank Space Looking Forward
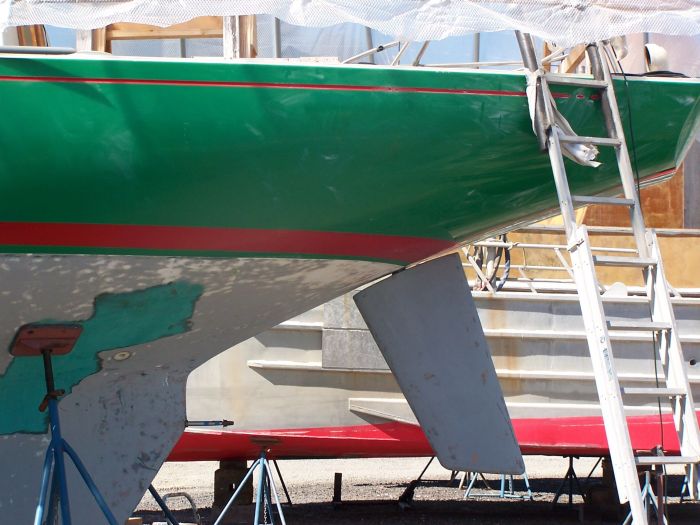
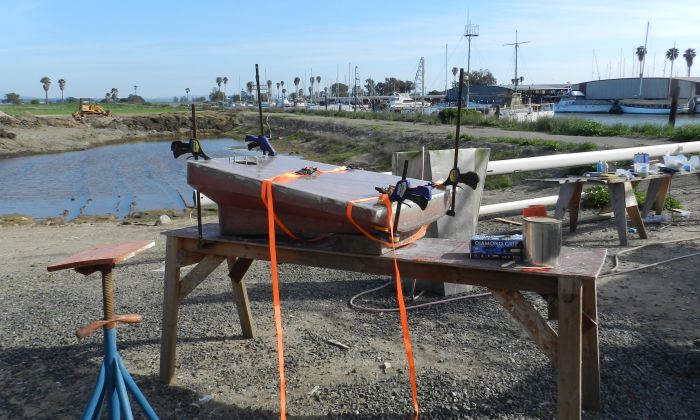
So now the final undocumented task completed. I had pulled the rudder because there was too much play. I used the technique I picked up from the West System repair manual. I filled in any rough spots on the rudder shaft with epoxy and micro-balloons and sanded it smooth. I then waxed the heck out of it with mold release wax. I drilled three holes approx 120 degrees apart in the bottom of the fiberglass tube that holds the rudder shaft. I reinstalled the rudder and injected a mixture of epoxy, silica and graphite at about mayonnaise consistency into the holes until I couldn't force in any more. After it set up I broke the rudder loose and it moves freely but has no play.
Rudder Installed, Sanded and Ready for Paint