Year Three 6th Month
By this time in the spring I had really slowed up on my picture taking. I am not sure why but the loss of my good camera probably had something to do with it. This month will be just one page at the end of it.
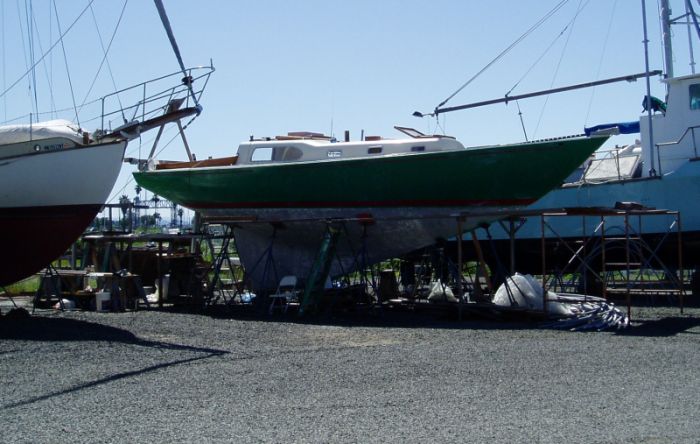
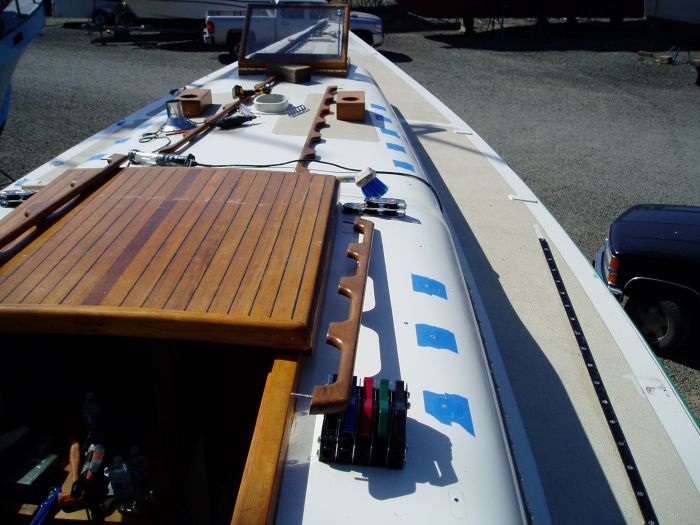
The big news was I had all the hatches on including the lazerette and main hatch. With the cockpit painting finished there was no reason for the tent, not that drought ridden California was going to produce any rain. Here is Sheer with out the tent of three years. The frame had held up through storms of 60 + and the normal 20-30 afternoon winds. My construction of the tent was a breakthrough with the yard workers for the marina, they had never seen a tent last past two weeks before. They have seen all sorts come in to work on their boats and they wait to see how you are going to do before opening up to you. In many cases the worst thing that has ever happened to a boat is its owner working on it.
Tent is Off
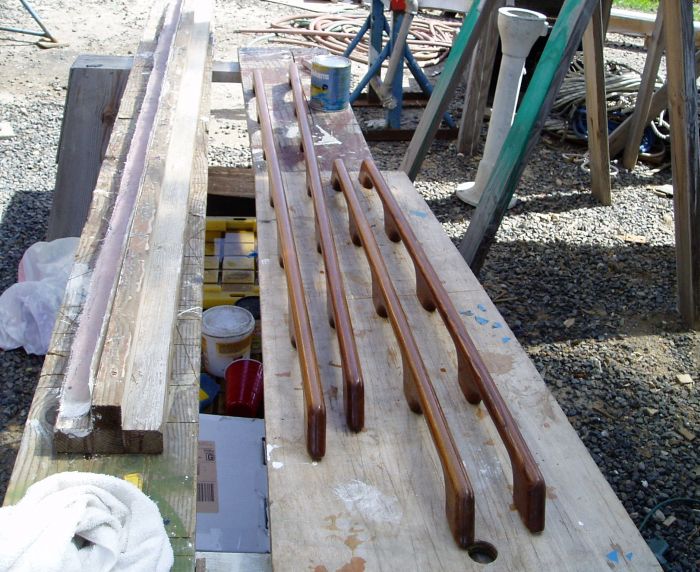
In year two I had bought new grab rails, varnished or Cetoled them depending on whether they were going in or out. I then put them in storage where they continued to languish after the earthquake debacle. So now I got to buy new grab rails.
My original plan was to have the outside grab rails matched by inside ones to provide inside support in a seaway. I changed this for two reasons. The inside ones were not necessarily in the best place but mostly because I couldn't figure out how to match up the holes and have it look perfect. I decided to put the outside ones on and then figure out where I wanted inside ones and install them at some future date.
New Grabrails
To mount them I had a friend hold the rail down while I drew around the end pads. I then drilled a hole through the deck, had the friend hold down the rail while drilled into it from the inside. Then I installed what McMaster Carr calls threaded studs for wood. It has a stud thread on one end and machine thread on the other to take a nut. I then over drilled the hole, filled with epoxy and redrilled it.
Grabrail With Bolt installed

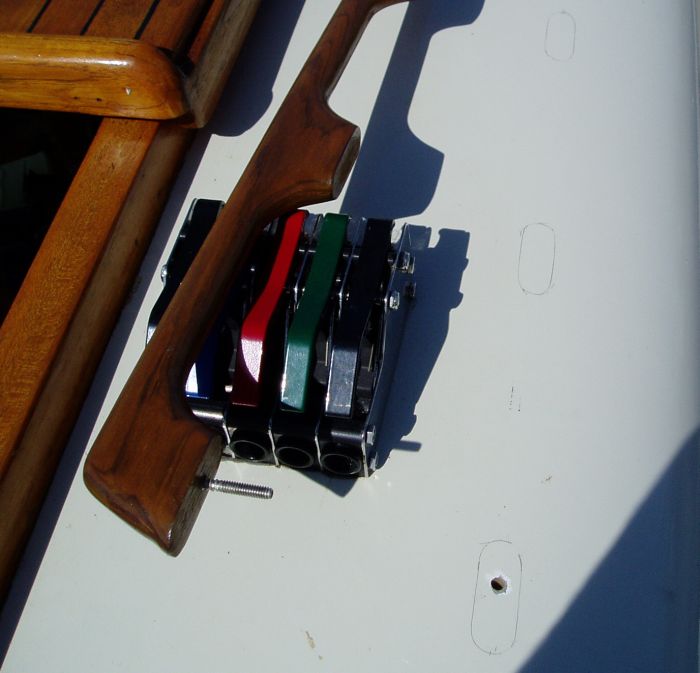
Then I pushed the bolts down through the end holes tightened a nut on the inside and drew around the rest of the pads
Grabrail Outline
Then I over drilled a hole through the center of each outline and filled it with epoxy then I redrilled the holes. The pic is of filling the over drilled holes with epoxy
Filling with epoxy
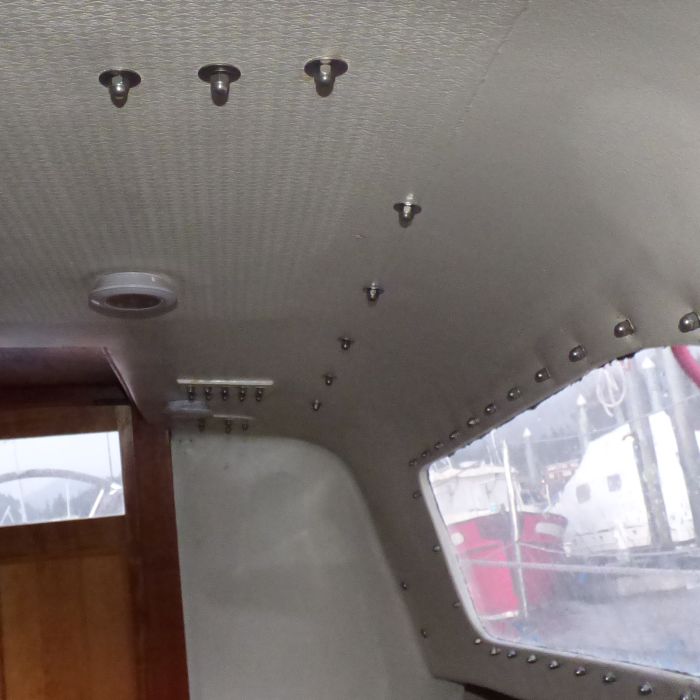
Then I put the rail back on, drilled and installed threaded studs for each hole. The I cut all the bolts on the inside to the correct length and bedded the grabrails with butyl and cinched them down on the inside with decorative acorn nuts.
Grabrail Acorn Nuts