Homework--Companionway Doors
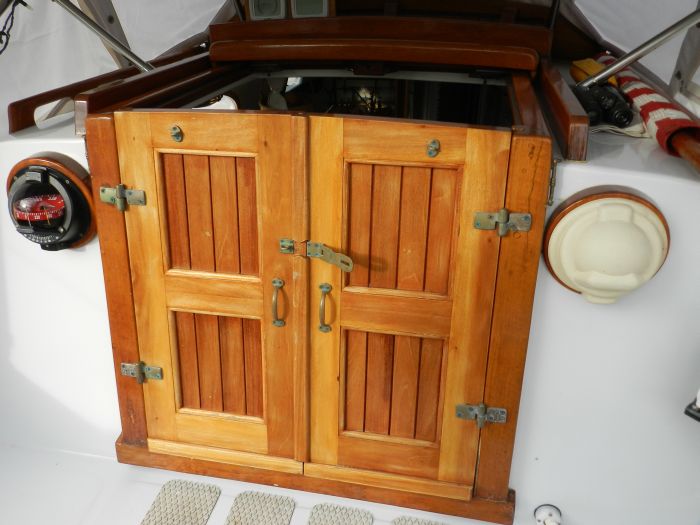
Next up was companion way doors, The companion way entrance to the 38 is almost vertical edged instead of the taper most boats have. This makes it easy to make doors instead of drop boards which I hate. I have a door on my Triton and it is soooo much better than drop boards. I plan on cutting away the outer lip for the groove for the drop boards. This will allow for a fairly thick door. I decided on 1 1/8th in thick and picked up some pretty neat Sapelle at Edensaw Lumber when I came through Port Townsend on my way home. Here are the doors on the Col 38 Shanti Anna. I plan on paneled doors also though I am a little worried on how they are going to work in the very damp climate I live in. They will look great and if they fail then I will build something else.
Shanti Anna's Doors
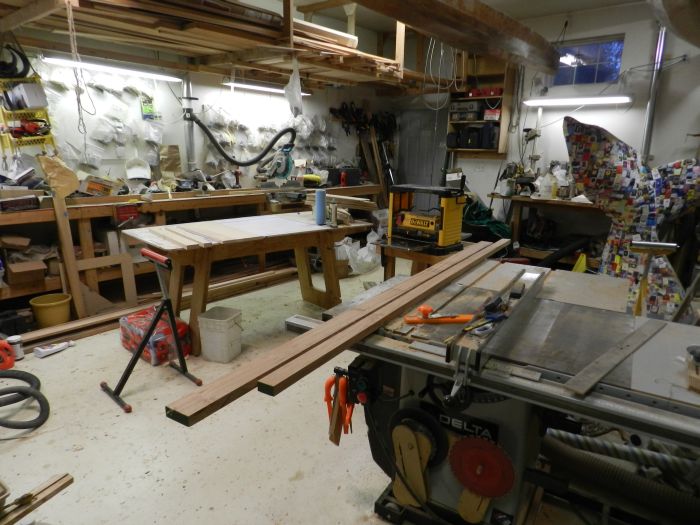
So I started out by planning the sapelle down to 1 1/8th, I have a rail and stile set for my router table and that is as thick as they can do. I got the set from Grizzly and I can't remember why, they are sharp and did nice clean cuts. The top stile (or rail, I don't know which is which) had to be a little wider because a curve has to be cut into the top of the doors to match the hatch curve. I could tell I was going to be very close on material.
Door frame stock
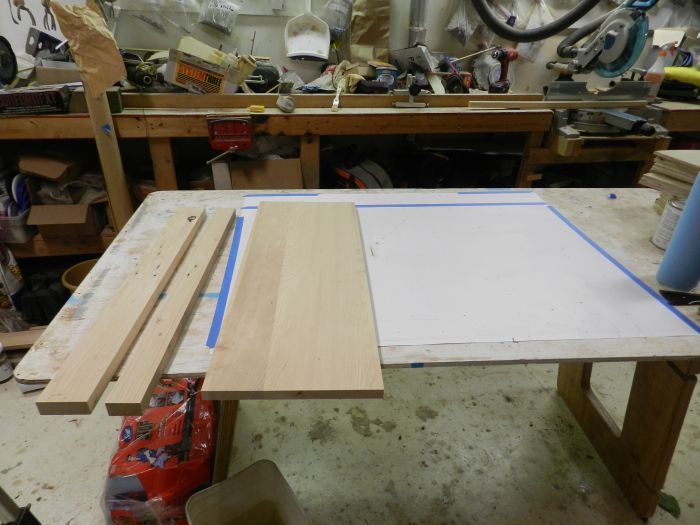
Next I glued up a panel blank out of local clear hemlock I had. I also cut some scraps down to match the door frame stock for test cuts on the router table.
Panel blank and test pieces
I got some light cardboard (thank you Alaska Litho) and drew out the doors full size. I then cut door frame pieces to fit. I found that I was about 2 in short on material, I then found I had cut one piece too short and I didn't feel so bad. Edensaw shipped me up a short piece to finish it out. I should mention at this time that if you are a newbie to this kind of construction which I most certainly am, getting the width of the doors correct with the end router cut is difficult. Hard to judge just how long to cut the rail (or stile?) because of the router cuts. Be prepared to burn a lot of test pieces. You also have to do a lot of testing to get the heights correct.
Door Lay out
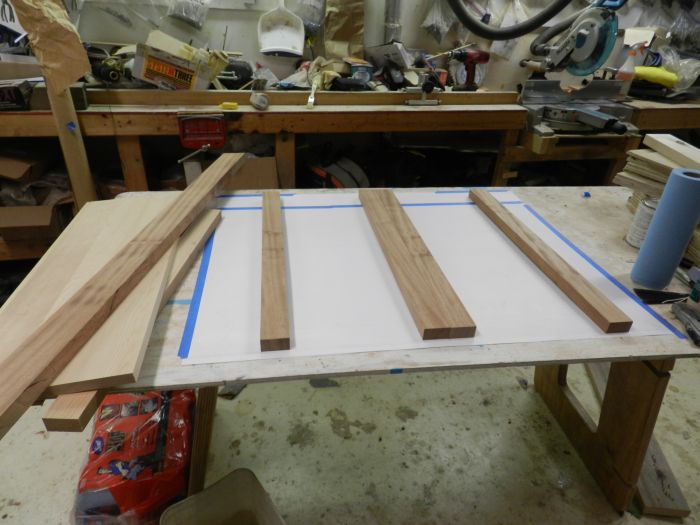
Here is the partial layout showing the shortage.
Short Rails (or Stiles)
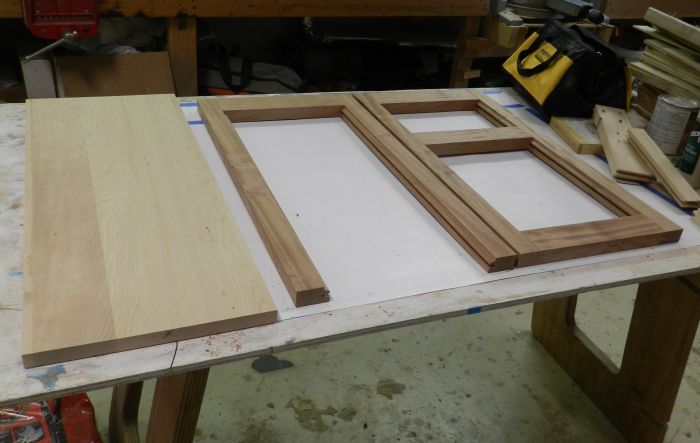
When the wood showed up I finished all the routing on sides and ends, starting to look like doors.
Finished with routering
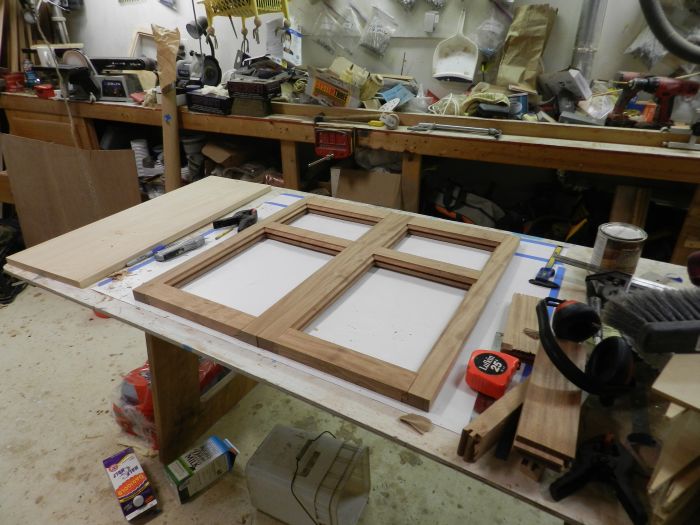
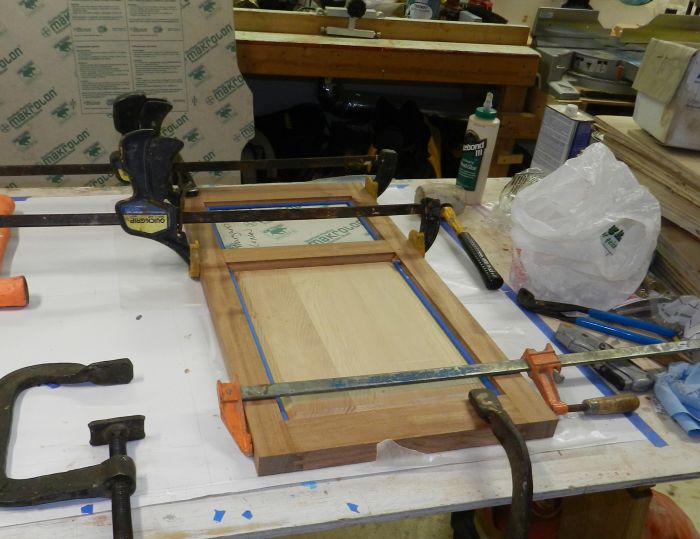
Panels in the doors
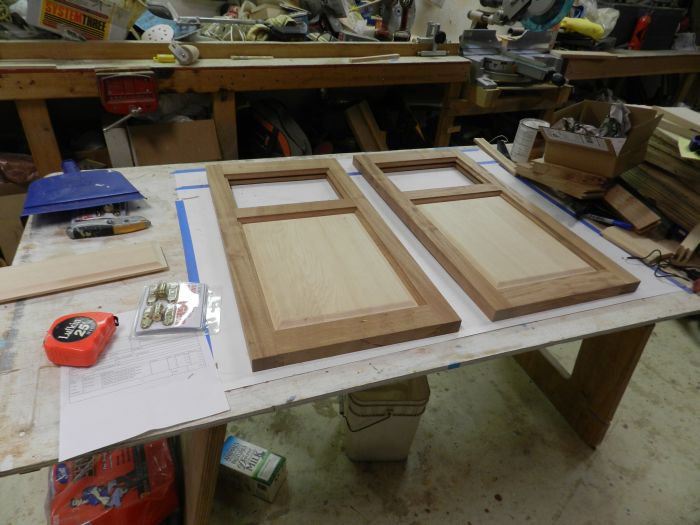
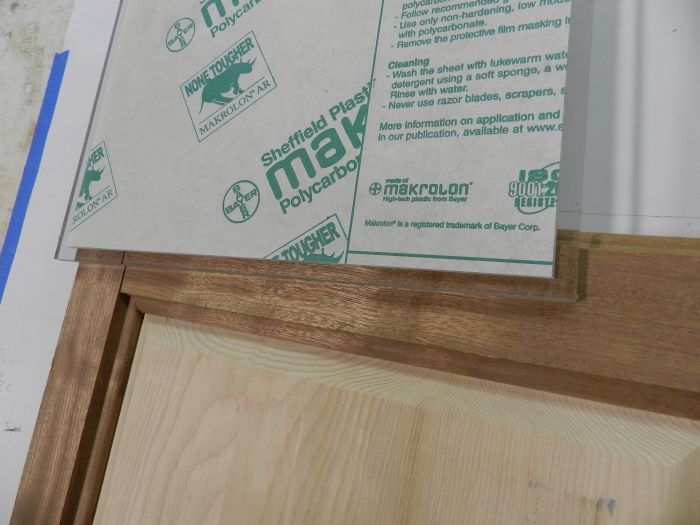
I cut lexan for the windows, peeled back the edges of the protective paper.
Cut Lexan
I glued the doors up insuring that they were square, I don't have a pic of them after varnishing. I only put one coat of varnish on as the doors will have to be trimmed to fit and the tops will have to have the curve of the hatch cut in.
Glued Up Doors
