
Backbone
Before the backbone was set up I made the side panels. Unfortunately I can not find any photo's of this process. I fiberglassed the ¼ in (6mm) 4'x8' panels together end for end with 4" strips of 6oz cloth on each side of the joint. I laid down a 6" wide strip of melamine faced board I had as scrap, put down wax paper on top of it, a wet out strip of fiberglass, the butted together joint another strip of epoxy soaked fiberglass and then wax paper and another 6" board all screwed together until the epoxy set up. It makes for a very smooth joint with minimal clean up. The screw holes were filled in during the building process. I ended up with 6 16' long 4' wide panels and one panel made up with cheap underlayment to use as a pattern. I cut the side pattern out per the plans using the underlayment and used that as a pattern with a pattern router and cut out all 6 sides.
It starts with a back bone. I have learned over the years that if you are going to use a backbone make sure its a good one. Put the molds on the center line, make sure the backbone is square and absolutely level and the molds perpendicular.
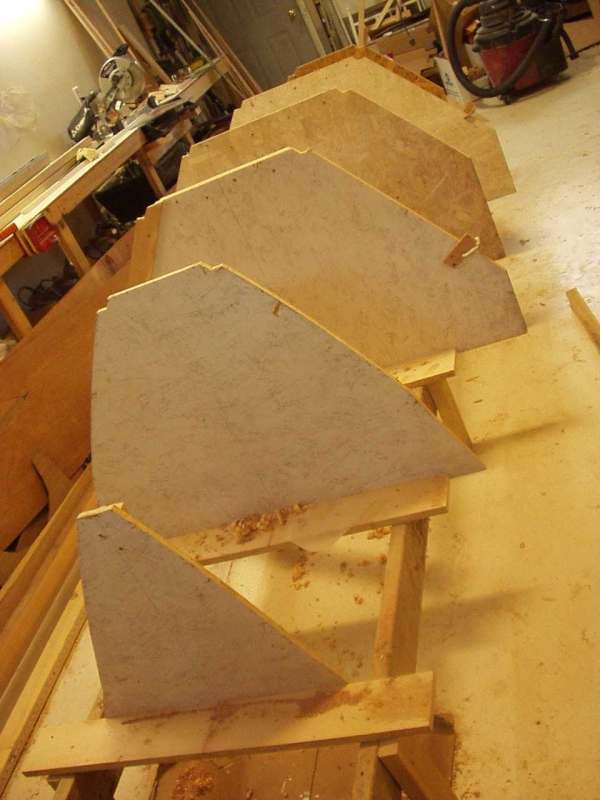
The backbone was made with 2 2x6 leveled both lengthways and across. They were set up exactly parallel and the cross spalls on the mold positions are square. The molds were then cut out per the plans, I used OSB for the molds. The molds were set up on the backbone. The little pieces of wood clamped on the molds are to hold the side panels. You can see the curve in the side in the two closest molds.
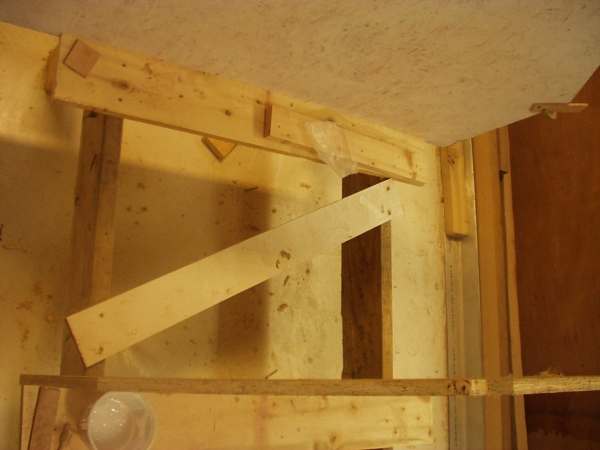
The backbone is braced with a diagonal to keep it square.
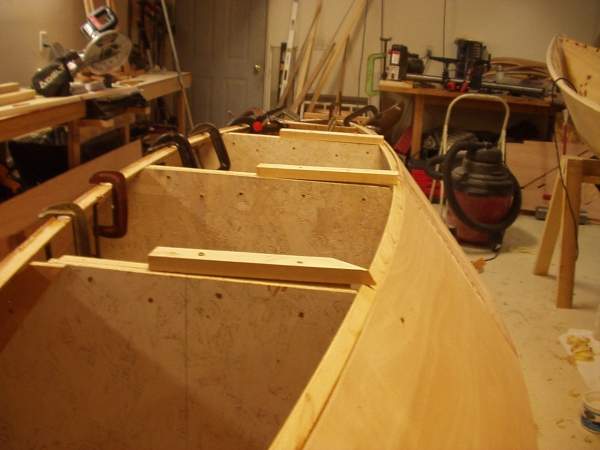
I braced the center mold so it couldn't move, then put a temporary stick over the top of the molds to keep the rest of them from moving. (stick isn't in this picture). What is that funny piece added on to the side of the mold at the top of the picture you ask? When the molds were all set up it became apparent that there was a problem with one mold, obviously narrower on one side than the other on the bottom. The fix is a little add on piece to bring it out to the correct distance, I was out of OSB and I wasn't going to buy a whole another sheet for one mold. The cause of the mistake?? When you bury an inch on a tape measure to get away from errors in the tip you have to remember to add one to the measurement.
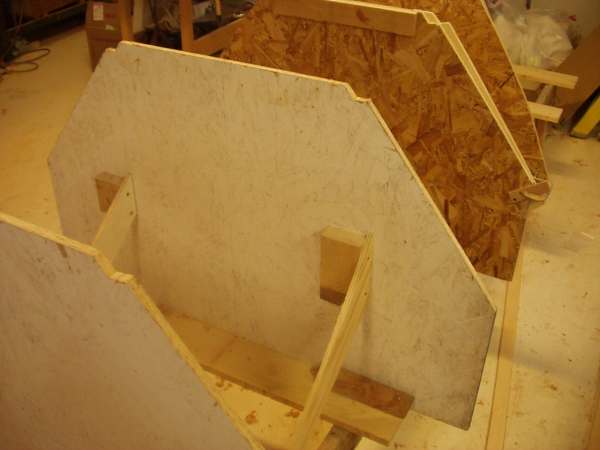
Putting in the chines-The chines are cut to fit the bevel of the sides meeting the bottom. They then bend in two directions. They do not want to lay flat against the sides so I came up with a method to force them to. I put a board across the back of each mold flush with the bottom, which is the top during construction. I then screwed another board down and it forced the chine down level with the bottom and took the twist out so it was flush with the side so I could glue and screw it to the sides.
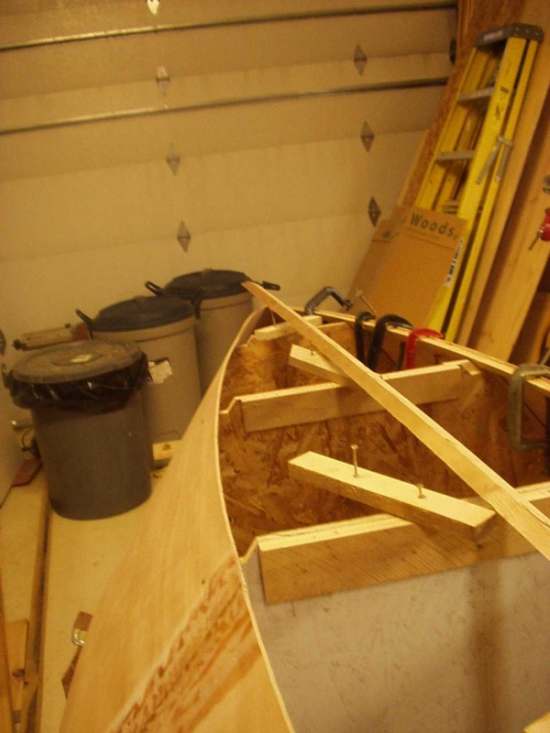
Here are the boards ready to go on the other side.
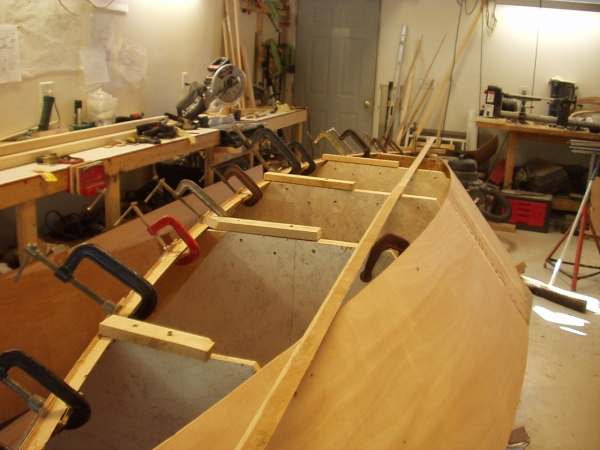
Here the chine is in place and the screws ready to cinch down which will take the twist out of the chine.
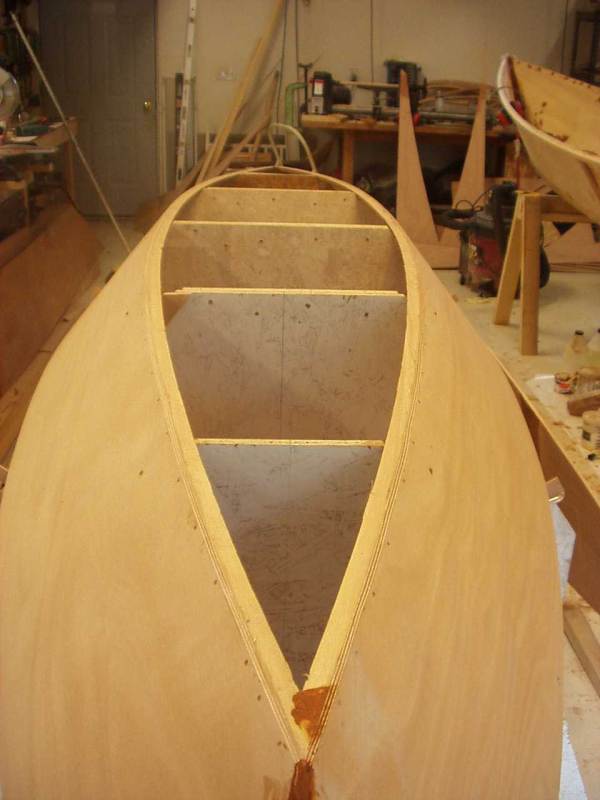
Chines in place. Ready to put bottom on.