
Year Three Week 15
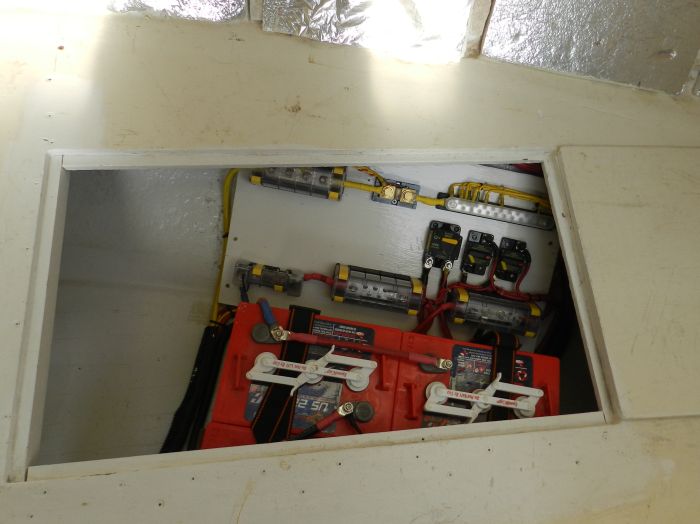
By mid January the wiring was going full tilt. The batteries were in and the connections done properly with fuses and circuit breakers.
Here are the battery hook ups.
Batteries and wiring
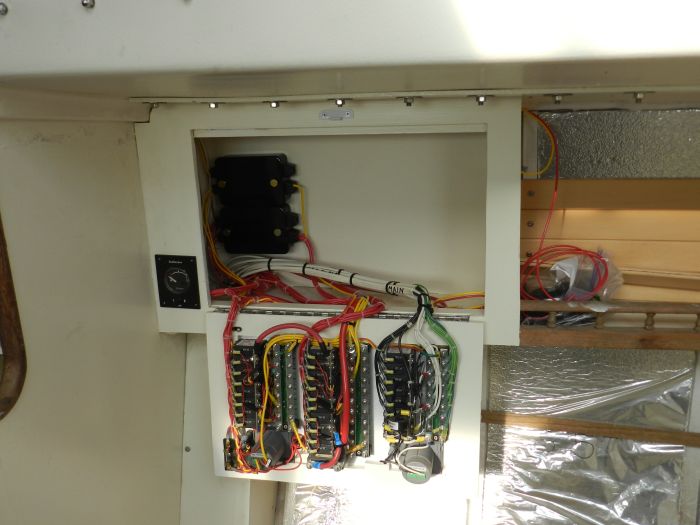
From no wire left in the boat to wires run all over the boat here is the panel fully wired.
Wired Panel
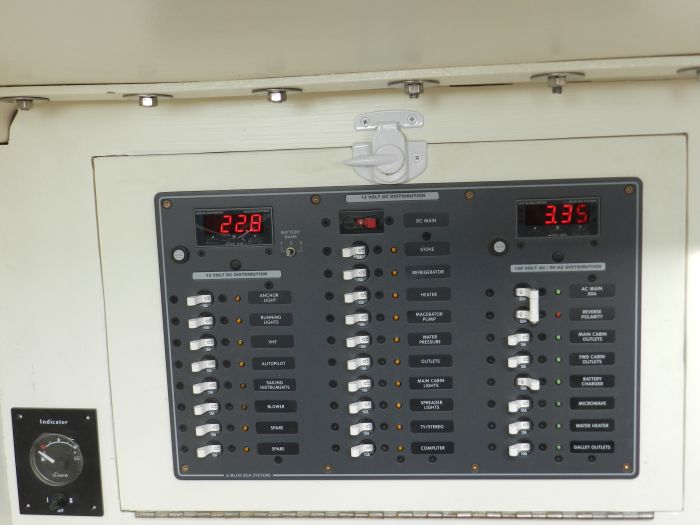
Here is the panel powered up. Its not volts but amps that are up, DC on the left, AC on the right
Panel powered up
Got the big windows in also. They are Lexan but not scratch resistance.
Big window
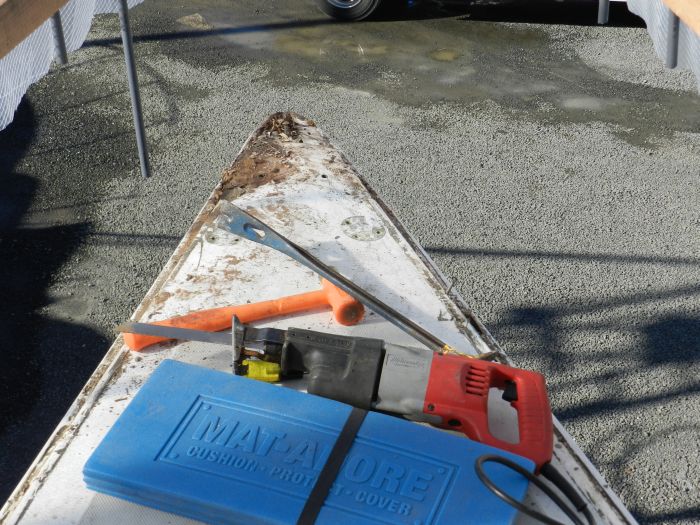
The chainplate/bowroller was mounted on a specially fitted piece of wood that got destroyed on disassembly. Here is a pic of the destruction.
Disassembled bow
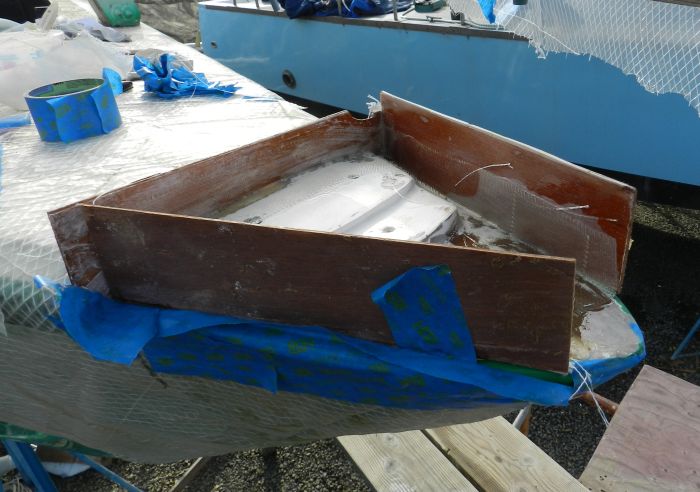
I decided to build up a fiberglass replacement for the roller and bow chainplate. Making a wood piece to fit the steps and shapes is beyond me this far from my shop. I used some scrap wood to make a form and for the rounded piece in the bow I noticed the boom seemed to have about the right shape so I molded a fiberglass piece on it and then I cut out a piece to fit. I used scrap wood to make the sides. Here is a pic of the start of the mold. I waxed the pieces and then put on PVA mold release. I then laid up a couple layers of 10 oz cloth on the inside.
Start of the Mold
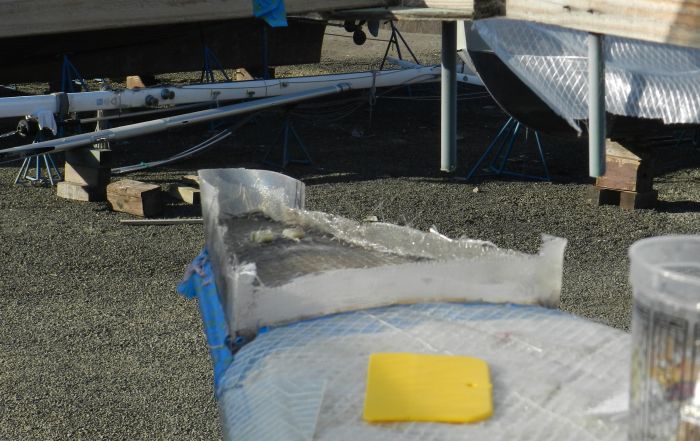
Here is the mold with the wood scraps off. I filled it with a roving mat cloth mix. Same stuff I built the fuel tank with.
Filling the mold
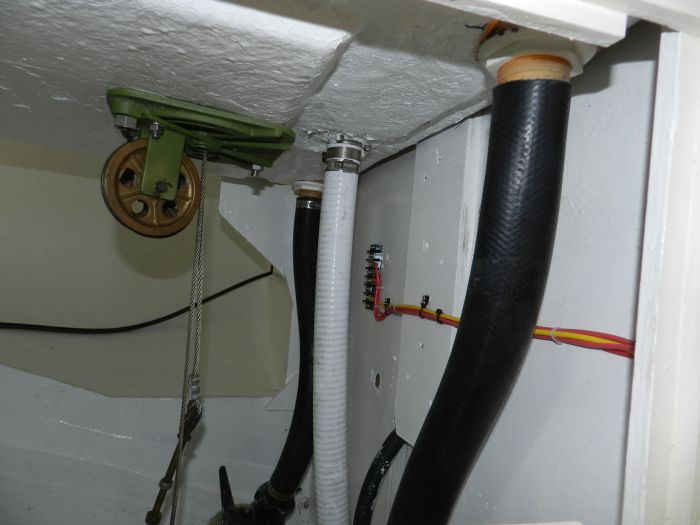
With under the cockpit nicely painted as well as on top it is easy to finish things up. With the cockpit painted fittings can go in. Here is the cockpit drains and water fill all hooked up. The terminal block is for auto pilot, compass light, stern light and other things in the aft end that escape me at the moment.
Under the cockpit
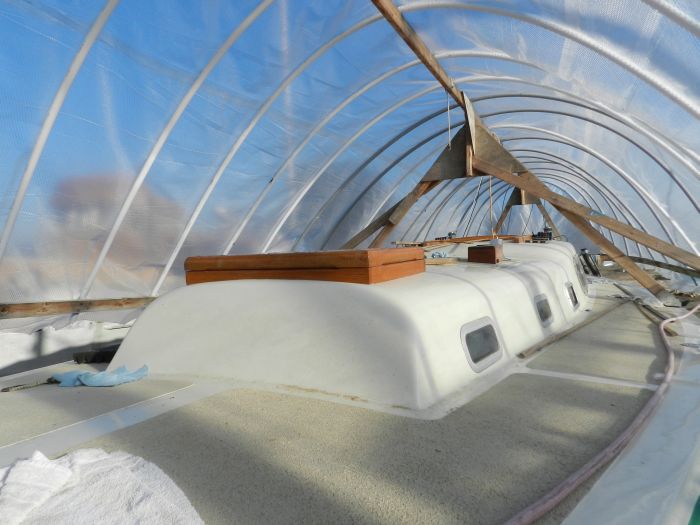
Oh yea the forward hatchcover got put on, looks cool.
Forward Hatchcover
That finishes off January